| Copy the gfx folder, with the menus folder inside, and the altered menu1.jpg inside that, to the SPMod folder. We now have our custom menu file. ------------------------------------------------------------------------------------------------------ Now open up Notepad and type the following: map pit Save this file in your SPMod folder as "gamestart.cfg". Remember when you save to save as All files, not txt. Now, open up assets1.pk3 in the "base" directory. Extract the file "ui\newgame.menu" into your SPMod folder. Now open this file and search for the following line: uiScript startgame Delete this line and replace it with the following: exec "exec gamestart.cfg" - Credited to AKPiggott ------------------------------------------------------------------------------------------------------ Now copy all the folders in the SPMod folder into the SPMod pk3, save the pk3 into the SPMod directory. Now run JK2. Load up SPMod. You should see your custom menu screen picture displayed. Now go to new game, select the difficulty, and start. The level 'Pit' should load. Open up Radiant, create a test map with an info_player_start, lights, a few NPCs. Save it as level1 Now open up the gamestart.cfg file in the SPMod ofolder. Delete the line map pit And replace it with: map level1 Now again copy the folders in the SPMod folder to the SPMod pk3, save the SPMod pk3 to the SPMod folder. Again run JK2 and load up the SPMod mod. Again you should see the custom menu screen. Now go to new game, select difficult, and start. The map you made, level1, should load up. You can load any map from the menu screen using this method. Having a custom menu has many advantages: Firstly, the player can easily select a difficult level for your map. Having a custom menu and loading the map through the menu gives your level a far more professional feel. There are other files in the gfx/menus folder in the assets1.pk3 file, which can also be edited to customise te menu further. Loading the map with the gamestart.cfg method can also allow you to set a different saber colour for the player - the thread on this by AKPiggott is here. |
| CUSTOM MENU SCREEN AUTHOR: KENGO + AKPIGGOTT DATE: 09/02/03 |
First of all, open up the assets1 pk3 file in the base folder of Jedi Knight 2. Set path in alphabetical order, then look for the extension 'gfx\menus' in the path section. Then look fo the menu1 jpg file. Extract it to the desktop, a folder called 'gfx' will appear on the desktop, inside this will be a folder called menus, inside this will be the menu1.jpg.. You can open the JPG using any picture editing program. Make changes to the picture, but don't change it's dimensions, this must remain the same. Below is the altered menu screen I used in OccupationV2: |
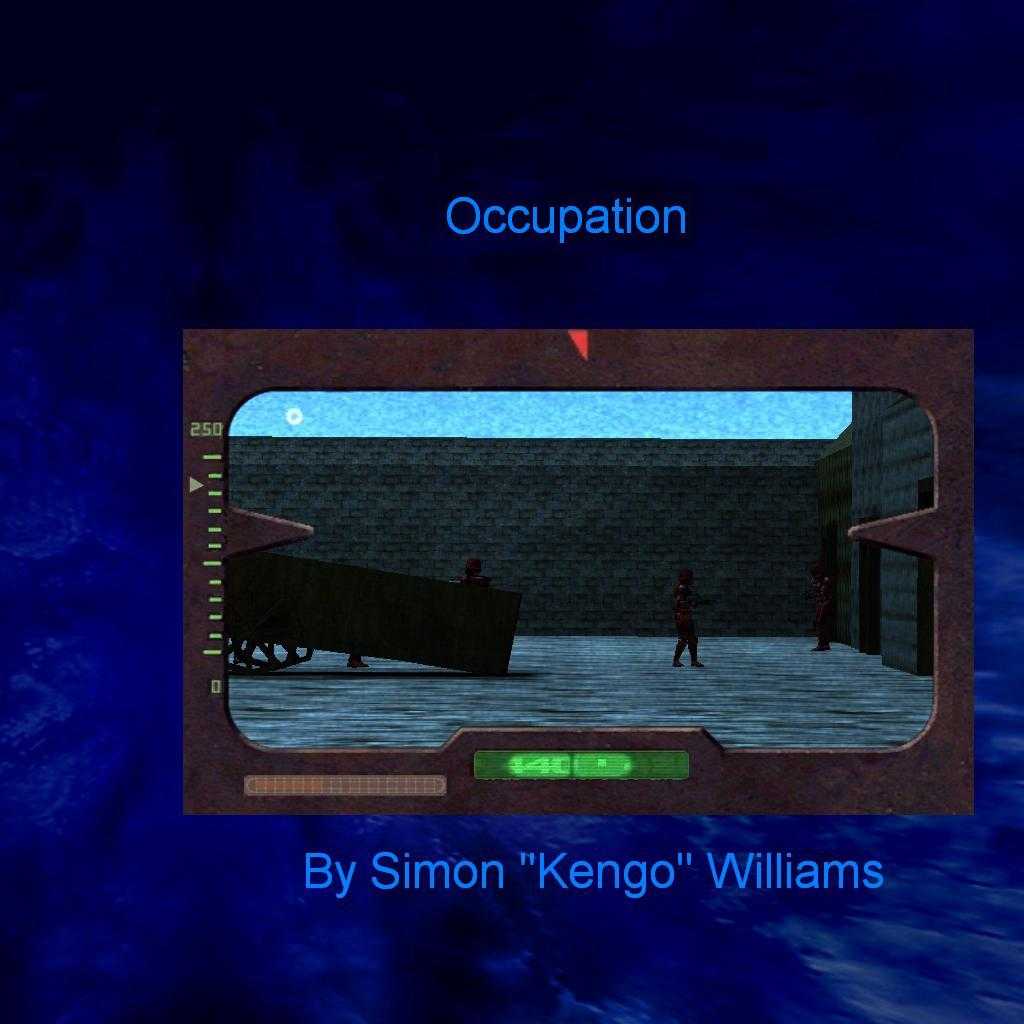 |
| All the credit for the part of the tutorial on using a custom gamestart.cfg file and loading maps through the menu goes to AKPiggott. The thread on this he created can be found here. The part I copied frm this thread is in itallics in this tutorial. Much credit for this tutorial also goes to Darth Arth, whose Return to Jedi Valley pk3 I scavenged to find out what files and folders were used in custom menu graphics! |