| SINGLE PLAYER PK3 TUTORIAL AUTHOR: KENGO DATE: 04/02/02 |
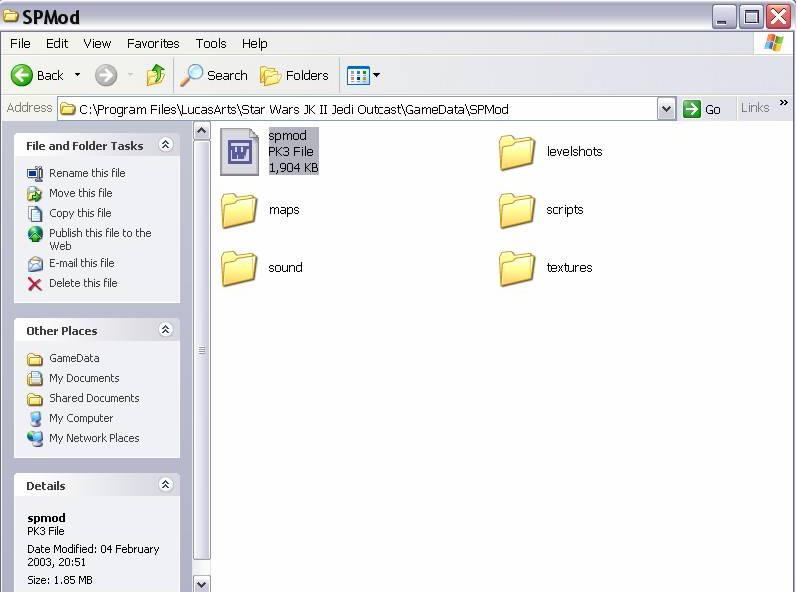
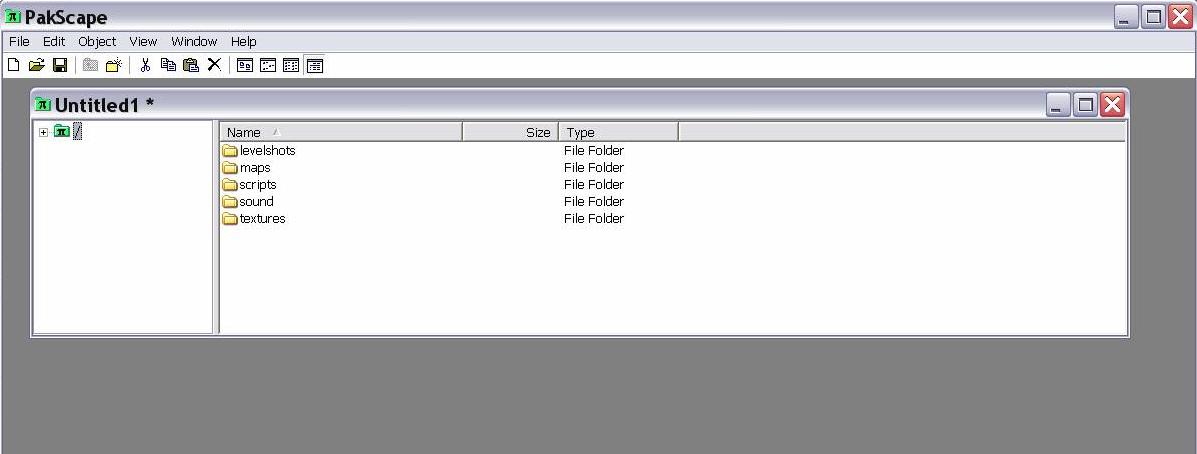
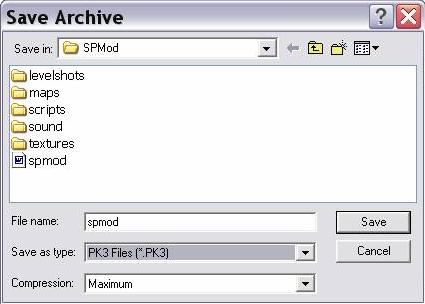
| First, if you don't have a fair understanding of how pk3's work, at least for Multi Player maps, then I recommend going here: Richdiesal Tutorial on PK3s Now, if you are going to have modified objectives, credits, or even skins and models, then it's best to make the map part of a mod. Basically, this means people can play your map with all the modifcations it makes to the SP game, but it won't affect the main SP game, or any other SP maps they have. If they don't want to have the game modded in the way your map will be, they can just turn off the mod, they don't have to delete the whole pk3. Create a folder in the gamedata directory of Jedi Knight 2. For these tutorials, we'll call it SPMod Now as long as a folder in the gamedata directory has a pk3 in it, it can be loaded as a mod. I like to organise all the folders that will be in the pk3 in this folder, then just copy them into the pk3 when I want to create it. Now in this folder you will want a number of sub-folders, which you can then easily copy and paste into the pk3 for the mod. For now we'll create a few empty one's we'll be using in later tutorials. You will want folders called Maps, scripts, sound, textures, levelshots. Now load up PakScape and create a new pk3 called SPMod Copy and paste the folders into Pakscape, then save the pk3 in the SPMod folder If you load up JK2 there should be a mod called SPMod in the mod list. If there isn't you probabaly don't have the 1.04 patch - you need it for SP mods to be displayed correctly. We will be adding to the folders in the SPMod folder and the pk3 file in future tutorials. |
 |
 |
 |